1. create a new post opertion (or use an exisiting one):
Before creating a pipeline, you need to make sure to create a post operation, or you have an existing one. A pipeline definition requires the configuration of a post operation, otherwise you will not be able to save your pipeline because without a post operation, it will be in an invalid state. Checkout the Post operations section for more details.
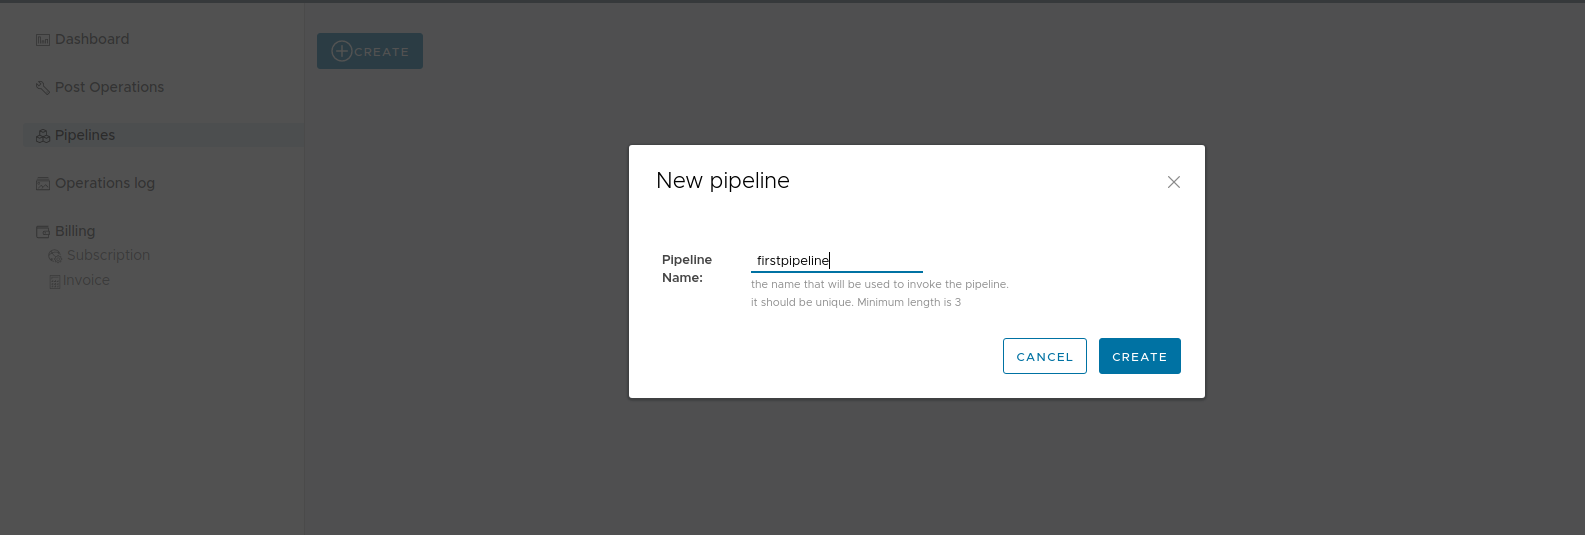
2. create a new pipeline in the control panel:
The first step is to create a pipeline by going to the pipeline menu and hitting create.
After successfull creation, we need to update the pipeline definition, by clicking on the View/Edit link

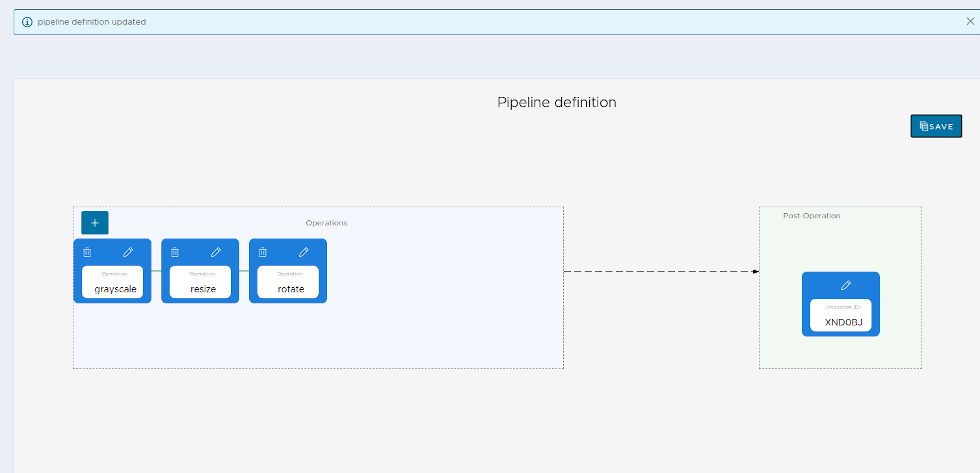
3. configure the pipeline:
As we have seen earlier, a pipeline needs a least one post operation and one operation.
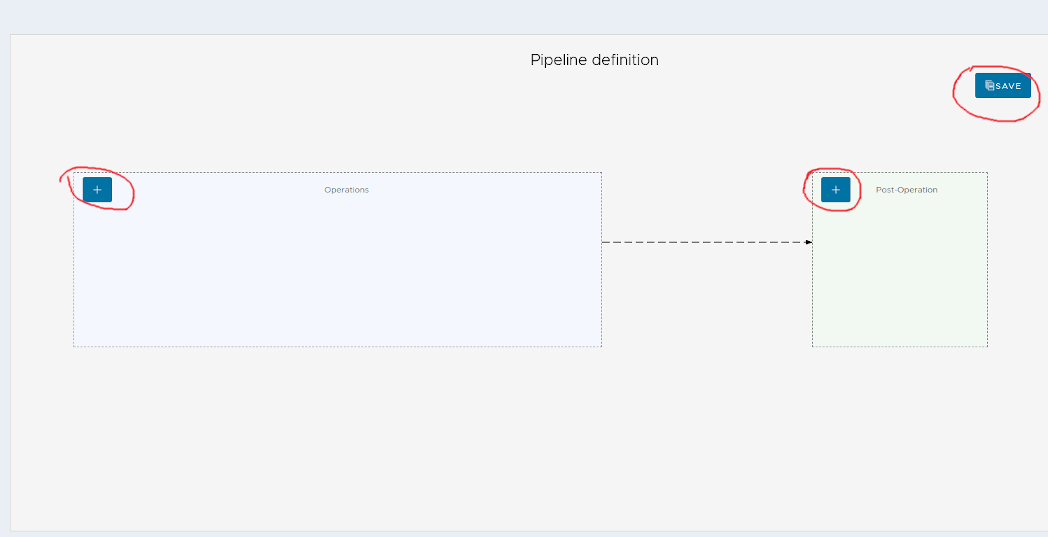
Without a valid definition, a pipeline cannot be saved and will display validation errors

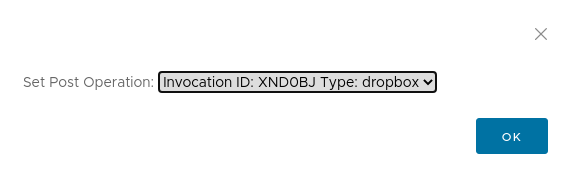
To add the necessary elements, we are going to use the post operation wizard
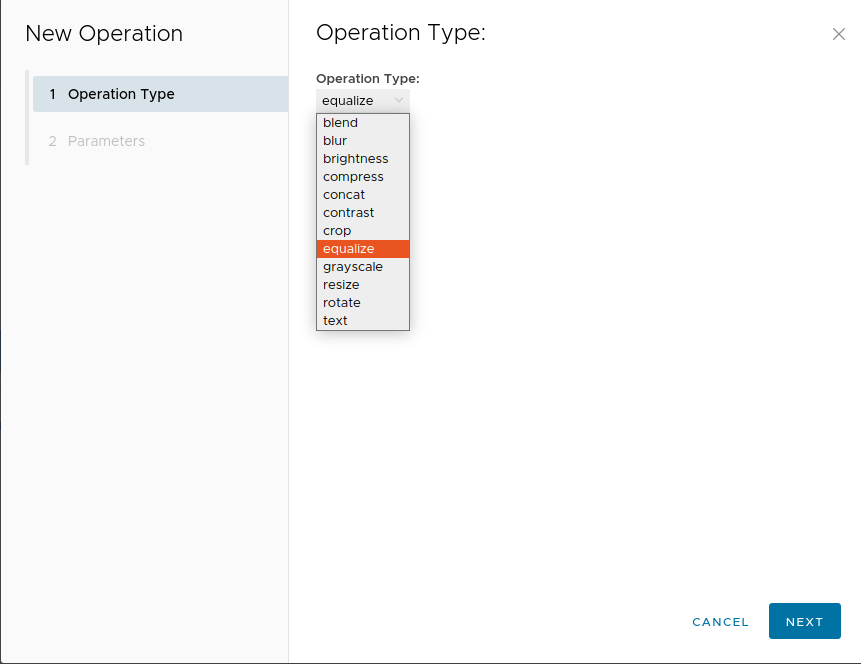
and the add operation wizard as well
and finally we need hit save to have the definition saved permanently
4. Use the API endpoints to execute and check the status of pipelines:
Now that our pipeline is defined, we can invoke it through the API:
curl -v -H "X-Imager-Key: $YOUR_API_KEY" --data-binary @jpeg_image.jpg 'https://api.imager200.io/pipeline/firstpipeline'
response:
{
    "execution_id": "384f9a088e7b4951af92b7c1cf9faee5",
    "message": "pipeline with name firstpipeline launched successfully, you can check the execution status at: https://api.experimental.imager200.io/pipeline/384f9a088e7b4951af92b7c1cf9faee5/status or the management dashboard"
}
If eveything goes well, the result will be uploaded according to the configured post operation.
5. If anything goes wrong, check the operations log for more details:
In case the pipeline fails, more details can be found in the operations log